
Ultimate Guide: How To Install a Vinyl Fencing
Installing a vinyl fence can mitigate several problems you might be facing. Intrusive neighbors? Install a vinyl fence. Are there any robbers lurking in the neighborhood? Install a vinyl fence.
Not everyone has extensive experience working with tools, but it is not a requirement to install vinyl fencing by yourself. You’ll need to put some time and effort to complete this project, but if you don’t unnecessarily rush every step, it should end up just fine.
In a short minute, you’ll know why it is a worthwhile endeavor, what you should remember about before you start working, and how to install vinyl fencing. Let’s go!
Why is it a good idea?
“Cause it looks nice” is not the answer that would satisfy most people and motivate them to start the hard work. Luckily, there are several reasons why installing a vinyl fence is a good idea.
- Are your neighbors’ musical tastes unusually incompatible with yours? Are there any moose mating just outside your property? A vinyl fence won’t block off every sound coming from the other side, but it will be noticeably less annoying.
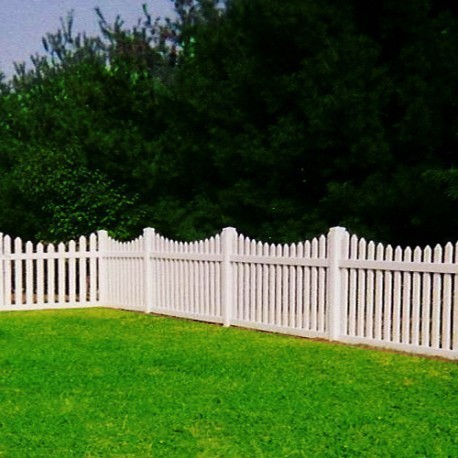
- Is the name of your neighborhood evoking fear, even in people from afar? Installing a vinyl fence won’t stop a gang with a bulldozer, or even equipped with a mere sledgehammer. Instead, it will make it more difficult to see if the forced entry is worth the effort. If people with bad intentions won’t be able to check if there’s anything worth stealing, the chances are, they’ll find another victim.
- Would you rather avoid the curious gaze of your neighbors, peeping every time you want to relax after a day of hard work? A vinyl fence will ensure that you remain untroubled.
- Do you have small children or animals? You won’t have to worry about them wandering off into the great unknown if you stop looking at them just for a minute. There’s already too much to stress about.
Before you install a vinyl fence, there are few things that you need to remember about.
Take care of the obstacles
Before you start your work, make sure that the terrain is void of any obstacles that could hinder the installation of a vinyl fence. If it’s not smooth, then the structural integrity of the entire construction could be threatened.
Too hot or too cold
It is best to start your work when it’s not too cold or hot. Vinyl expands when it is hot and contracts in low temperatures. To avoid having to calculate how much the temperature will affect its size, choose a day when the temperature is mild.
Underground lines
If you’re not a fan of senseless destruction, then you should contact your local utility locating service before you start installing a vinyl fence. Why? There might be some underground lines of which you might not know until you accidentally damage one. It would be troublesome and costly.
How to do it
Once you are sure that you won’t damage any underground lines and that the measurements are correct, let’s see how to install vinyl fence.
You need to dig the holes that are ten inches in diameter. To make this task as easy as possible, use a power auger or a posthole digger. The holes should hold about ⅓ of the post, plus 6 additional inches for the gravel. Once the holes are filled with gravel, then you can add concrete. The ones for the gate posts should be about 6 inches deeper. After that, drive the post into the concrete. Make sure that the post is plumb.
Now it’s time to install the vinyl fence sections between the posts. Depending on the manufacturer, the exact way of doing it varies – just follow their instructions! Most likely, the elements of the rail section will snap into place, and you won’t even need any tools to do that. Then, attach the rails to the posts with screws.
Just be careful
All of this isn’t too complicated, and if you follow the instructions carefully, the chances are, the end effect will be satisfying. Although you may be tempted to finish the project as soon as possible, you should avoid rushing the work. As the old adage says: measure twice and cut once. The amount of effort required to complete this project is not insignificant, but being able to relax in the solitude of your own garden without any unwelcome sights is worth it.