Preserving the Memory: Here’s How to Archive Family Videos and Photos in 5 Easy Steps
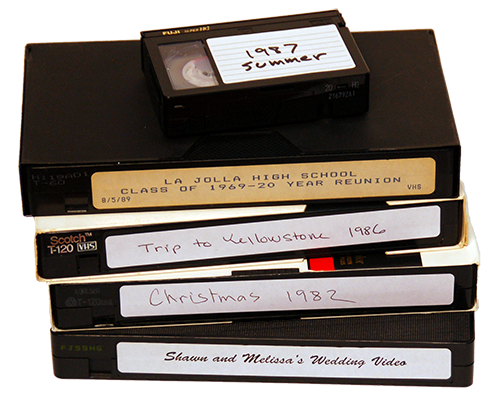
Today, it’s relatively easy to archive and organize family photos and videos, but this wasn’t always the case. Before the popularization of digital media, families had to use camcorders and film cameras to capture their most treasured memories. To get your videos and photos edited professionally, you should contact a video production company based in Brisbane. The tapes and photographs they produced were equally invaluable, but unfortunately, they were also susceptible to damage and general wear.
Now that it’s cheap and easy to store large amounts of data online or on personal computers, many families are making a wise decision to convert their analog videos into digital files. Read on to find out how to convert analog videos into digital files and archive the data for later review.
Step 1: Transfer the Content to a Computer Hard Drive
The easiest way to transfer analog videos onto a computer is to enlist the help of a Video To MP4 Service. The video’s owner can either drop off the tape in person or ship it through the mail, then let the experts do the rest. They’ll get the original tape back along with a USB drive or a hard drive containing the digitized videos in MP4 format.
Digitizing family photos is a lot easier. It can be done using a scanner or families can enlist the help of a professional service. Either way, digitizing photographs is usually less expensive, as it requires less specialized equipment and expertise.
Step 2: Edit the Files
Once families have digitized copies of their home movies or photographs, they can edit their videos as they see fit. Just make sure to save copies of the originals. Families can also change the format of their digital videos and photos to make them easier to share by converting the MP4 files into MPEG-2, AVI, or Apple ProRes files.
Step 3: Get Organized
Keep the video and photo files organized by naming them with a standard naming convention and dividing them into folders based on whether they are originals or edited files. Family archivists often find that the standard month-day-year naming convention offers an easy way to keep track of everything.
Those who don’t shoot many videos or photos can name them according to the event, but they might still want to start the file with the numerical year and month. Naming files chronologically makes it easier to find them later.
Step 4: Back Up Everything
Keep at least two copies of the entire archive. Most families upload their entire archives to the cloud and keep hard copies on external hard drives. This ensures that if something happens to the computer they’re using to store the files, they won’t lose all of their treasured memories.
Step 5: Share with Loved Ones
A second benefit of uploading photo and video archives to the Internet for storage is that this makes it easier to share them with other loved ones. Send individual files or a link to the entire archive to other family members. They’ll appreciate being able to review the videos and photographs as often as they please.
The Bottom Line
While analog videos and photographs fade and get lost, digital files are easy to keep track of and easy to access from anywhere. It’s worth investing in a video conversion service, then taking the time to organize the files according to a consistent naming convention. Years later, other family members will still appreciate all that hard work when they can access their loved ones’ treasured memories.


