
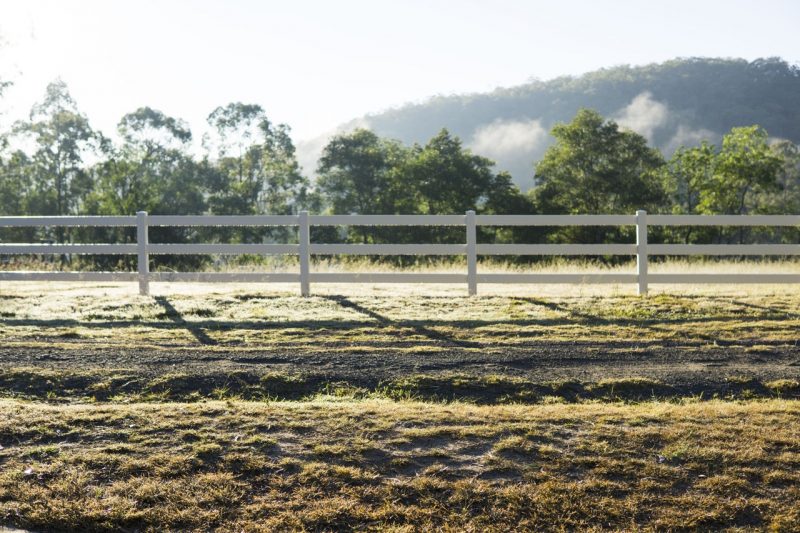
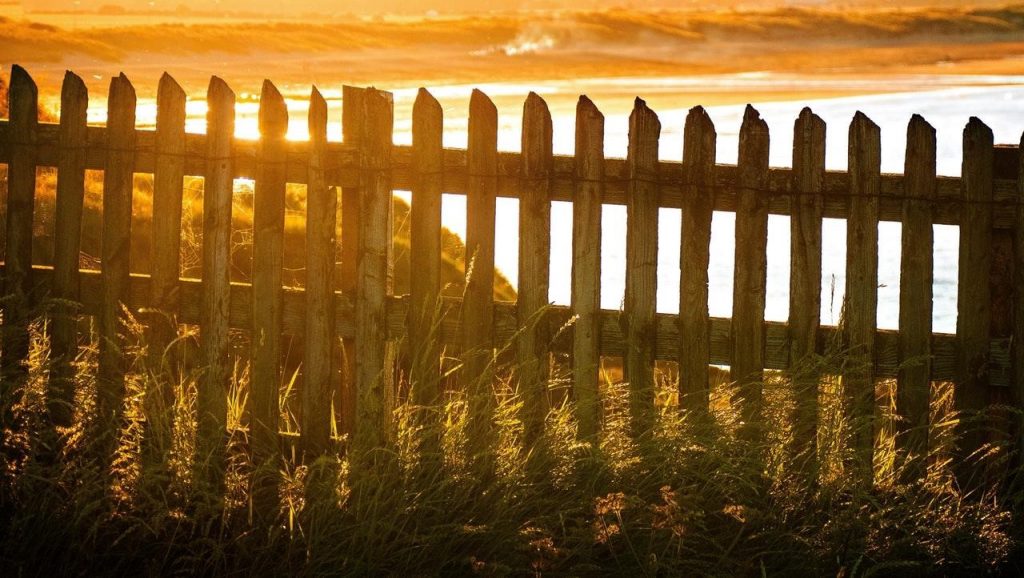
How to Build an Easy DIY Wood Fence for Your Yard
Building a DIY fence is pretty cool and cheaper in the long run. At the same time, you won’t have to worry that someone will do things in a different way from what you wanted them to do. It will all be under your control as an own contractor and own client, within your pace, and timelines.
When you decide to do a DIY wood fence, it can be an overwhelming process yet fulfilling. If you’re looking for the best ideas, tools, and steps to follow and get the fence standing strong, read through for insights. You’ll also get to learn some top hazards to watch out for and how to keep yourself safe throughout the process.
Tools and Materials
The following is a list of the tools and materials that you will need to get the job done:
Tools
- Manual saw, or miter saw.
- A hammer and a framing nailer.
- Tape measure
- Level (you can use any available level type).
- Strings
- Carpenter’s pencil
- Bench plane or a wood sander.
You should also have eye and ear protection gear.
Materials
- Treated fence posts: – 4×4 posts, 6-10 feet long are ideal for a normal fence, but you can have any other measurement.
- Boards
- Scrap boards for bracing.
- Rails
- Pickets
- Nails
- Hinges (if you need to install a gate).
Building the Fence Up
Now that you have all the tools and materials you will require, you’re at the preparation stage. Get ready to start with the layout.
- Planning the Layout
Start by creating a layout on a piece of paper. The plan allows you to make any changes until you get it right. It will also help in estimating how much materials you’ll need.
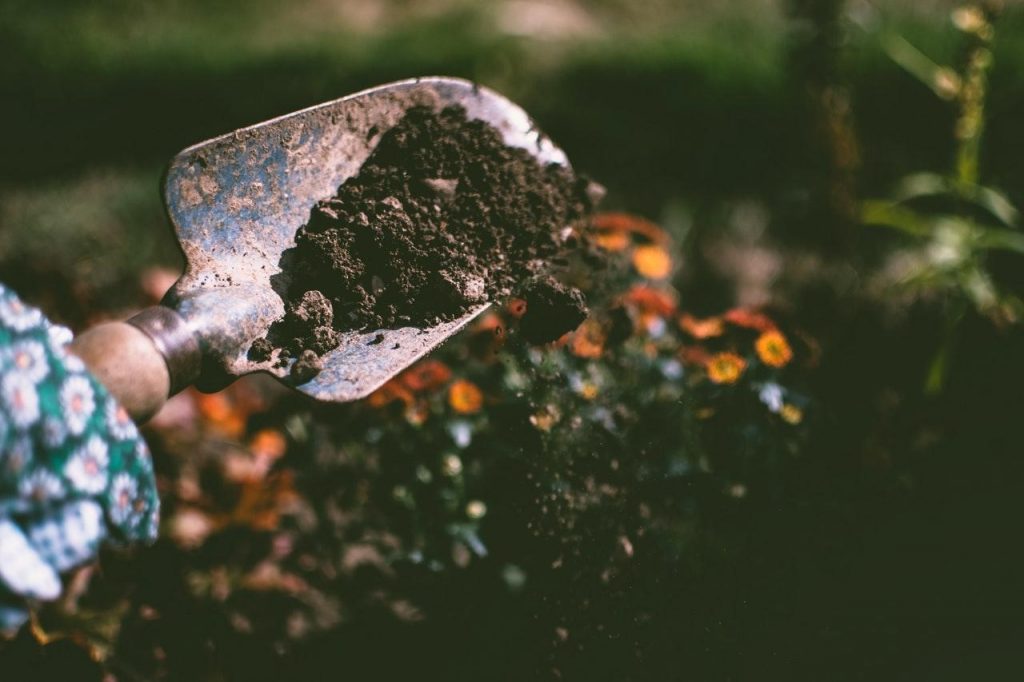
Also, you should check in with the local utility companies to ensure you don’t dig out their utility lines. It might also save you from unforeseen accidents if gas or power lines are passing underground. Remember to engage your neighbors and the zoning offices to establish the right boundary points.
- Set the Posts
With the plan ready, locate all the ends and corners of the property where you want the fence to pass through. Make sure to set the ends, corners, and fence lines back from the property lines as set by the local land jurisdiction. For the corner posts, use at least two scrap boards for bracing.
Dig the ground at each corner and end and have the first posts driven firmly into the ground. With your level, tape measure, and string make sure the posts are level with the smallest or your desired height and drive nails into the center of each post with the hammer or nailer. At this point, define the mid-distances and place other posts all around the fence line. Make sure they are all leveled up.
- Install Rails and Pickets
Once the posts are firmly in the ground, it’s time to install pickets, rails, and the mason/builder’s line. The presence of the builder’s line and the top, middle, and bottom rails are dependent on the fence style. However, the top and bottom ones are always encouraged for extra firmness.
After attaching the rails, it’s time to attach the pickets. The pickets need to be cut along the bottom edge (using a manual or miter saw) and also to the proper length. If they are not even, it’s time to use the wood sander.
Starting at the end or corner of the fence, hold the bottom of a picket at the height of the guide string. Use a level to make sure the picket is plumb and then attach it to the rails using the available fasteners and to each rail. Move the next picket separating it with a block of wood from the adjacent one. Continue doing this and fastening the pickets to the rails until the last one.
Finishing the Fence and Maintenance
It’s time now to install the gate. You can make the gate on the ground and hang it as the easiest way. Fixing the hinges to one of the posts, you can have a member of your family or friend to help you lift the gate.
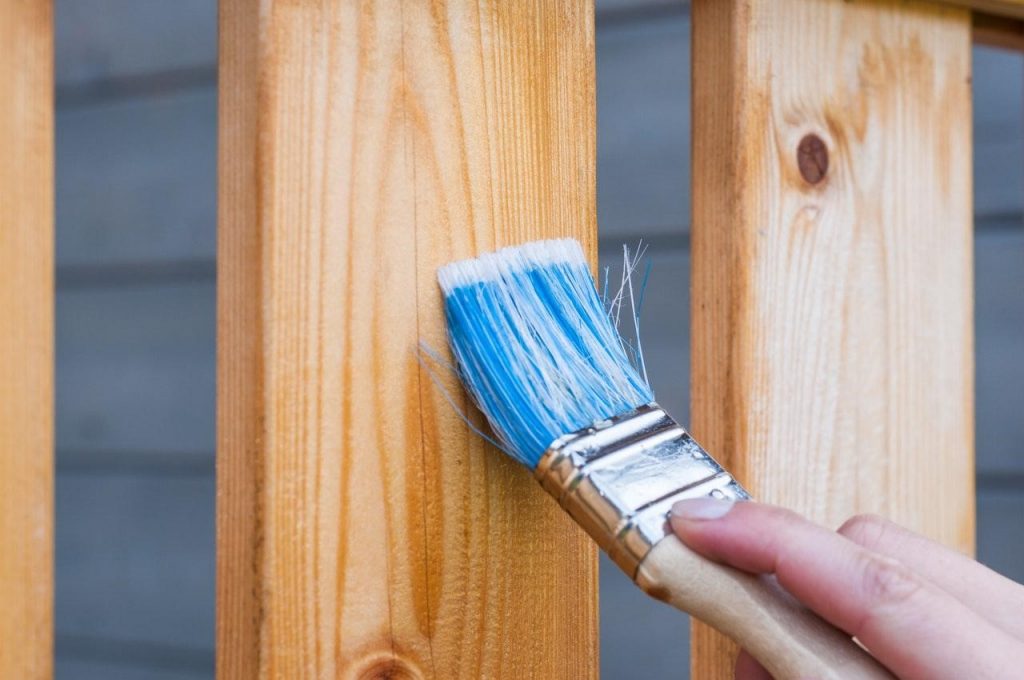
Once you attach all the pickets, you now have a fence. However, it’s not quite complete, and some additional work needs to be done. You should ensure the wood dries off before you can clean, paint, or stain your fence.
The drying time is dependent on several factors. The weather, climate, wood type, lumber manufacturer’s recommendations, time of the year, as well as the location, determine how fast or slow the wood cures and dries off. After you’re certain, it’s dry, clean the wood using a dirt, debris, and mill glaze cleaner.
Using gasoline-powered washers is not necessary but will depend on the factors as mentioned above too. However, you can use water plus a cleaning solution that can be applied using a brush, pump sprayer, or rollers and get rinsed off using a garden hose. After the cleaning and drying periods, you can apply any of the protective finishes you have (staining, waterproof sealing, or painting).
https://www.youtube.com/watch?v=BLyUstihyGs
Safety Procedures to Observe
While electing a wooden fence, there are tools to be used. The tools are hazardous if not used correctly. As such, you should ensure to use protective gear while working.
For the eyes, you should get workshop glasses to avoid sharp objects from flying into your eyes.
The ears should also be protected to avoid affecting your hearing. There are ear-protective headphones that one can purchase from stores to protect them while working.
Summary
Electing a DIY wood fence can be an interesting project to undertake around your property. It gives you control over what you would want a professional to do, the budget, as well as the timelines. After you’re done, it will give you a sense of pride that you could do it all by yourself and without the help of a professional. However, you should keep in mind tips from local professionals and watch out for projects similar to what you desire.